Garage Doors and Parts – Garage Door Opener Mounting Bracket plays a crucial role in securing your garage door opener to the ceiling. Proper installation is key to ensuring that your opener operates smoothly and efficiently. A solid and secure bracket ensures that the opener functions correctly and reduces the risk of malfunctions or accidents. This guide will walk you through the steps of installing a mounting bracket like a pro, helping you achieve professional results.
Before beginning the installation, gather the necessary tools and materials. These will make the process smoother and faster. You’ll need:
Begin by determining where the garage door opener mounting bracket will be installed. The location should be directly above the center of your garage door. Use a measuring tape to find the midpoint of the ceiling. Mark this point with a pencil or marker.
Check that the ceiling is level. If the ceiling is uneven, use a level to find the best installation spot. This ensures the garage door opener functions smoothly without unnecessary strain on the motor.
“Read about: Screw Drive Garage Door Openers: Why Choose This Drive System for Your Home”
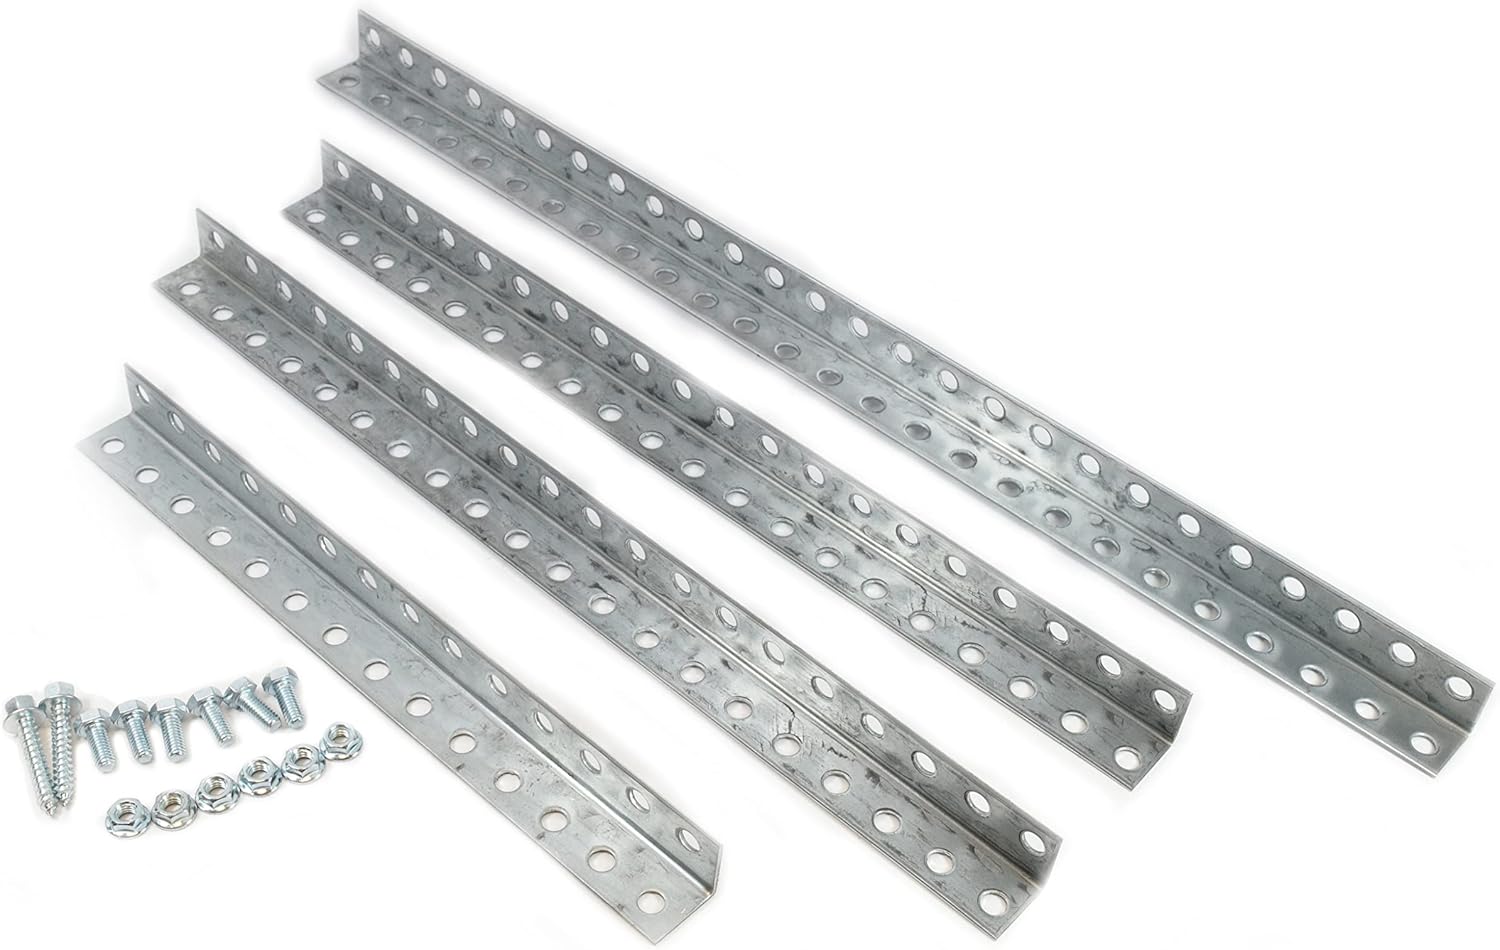
Once you’ve marked the spot, it’s time to install the mounting bracket. Position the bracket against the ceiling at the marked point. Ensure it aligns properly with the ceiling joists. You’ll need to drill pilot holes for the lag screws. Make sure the bracket is firmly attached to the ceiling with screws or bolts.
In most cases, the bracket will have pre-drilled holes. If not, carefully measure and drill the holes according to the bracket’s specifications. Be sure to use screws that are strong enough to hold the weight of the opener.
“Read more: How End Bearing Plates Support the Torsion Shaft in Garage Doors”
Using a wrench or power drill, tighten the lag screws into place. Make sure the bracket is tightly secured to the ceiling to avoid any movement. Double-check that the screws are deep enough to provide a strong hold. The last thing you want is for the bracket to loosen over time.
For additional security, consider adding nuts to the screws. This helps prevent them from coming loose due to vibrations from the opener. After tightening the screws, test the stability of the bracket by gently shaking it.
Now that the bracket is securely in place, attach the garage door opener to the mounting bracket. Follow the specific instructions provided by your opener’s manufacturer. This may involve aligning bolts or hooks on the opener with the bracket.
Make sure all connections are tightly secured and that the opener is level. Use a level to confirm the opener is positioned properly. An uneven opener could lead to issues such as an unbalanced door or motor strain.
After installing the opener, it’s time to test its operation. Plug in the opener and use the remote or wall switch to operate the door. Observe how the door opens and closes. Ensure the opener is working smoothly and that there are no strange sounds or vibrations.
If you notice any issues, double-check the alignment and connections. Sometimes minor adjustments are needed to ensure the opener works correctly.
After installation, regular maintenance is crucial for the longevity of your garage door opener. Lubricate the moving parts, such as the chain or belt, to reduce friction. Clean the tracks and check for any loose screws or bolts. This will help keep your garage door opener running smoothly for years to come.
While installing a garage door opener mounting bracket, safety should always be your top priority. Always wear safety goggles and gloves to protect yourself from dust and debris. When drilling, be sure to check for electrical wires or pipes in the ceiling. Using a stud finder can help you locate joists safely.
If you’re unsure about the installation process, consider seeking professional assistance. Incorrect installation can lead to damage to the opener or the garage door, and may even cause accidents.
This website uses cookies.