Garage Doors and Parts – Fix Broken Garage Door Torsion Springs before they become a serious safety hazard. Torsion springs hold extreme tension and can be dangerous. These springs are responsible for lifting heavy garage doors smoothly. When they break, the door may become stuck or fall suddenly. Immediate repair is important to avoid further damage. However, safety precautions are absolutely necessary. Only attempt this task if you’re confident with tools and mechanics. Otherwise, a professional should be contacted to avoid injury. This guide provides safe steps and necessary tools for torsion spring repair.
Torsion springs are mounted above the garage door. They wind and unwind as the door moves. Their function is to counterbalance the weight of the door. A broken spring disrupts this system completely. One common sign is a loud snapping sound. Another sign is the garage door failing to open. Visual inspection may reveal a gap in the spring. The system usually includes cables, drums, and a torsion bar. These parts work together to lift and lower the door. Wear protective gloves and eye gear before starting the inspection.
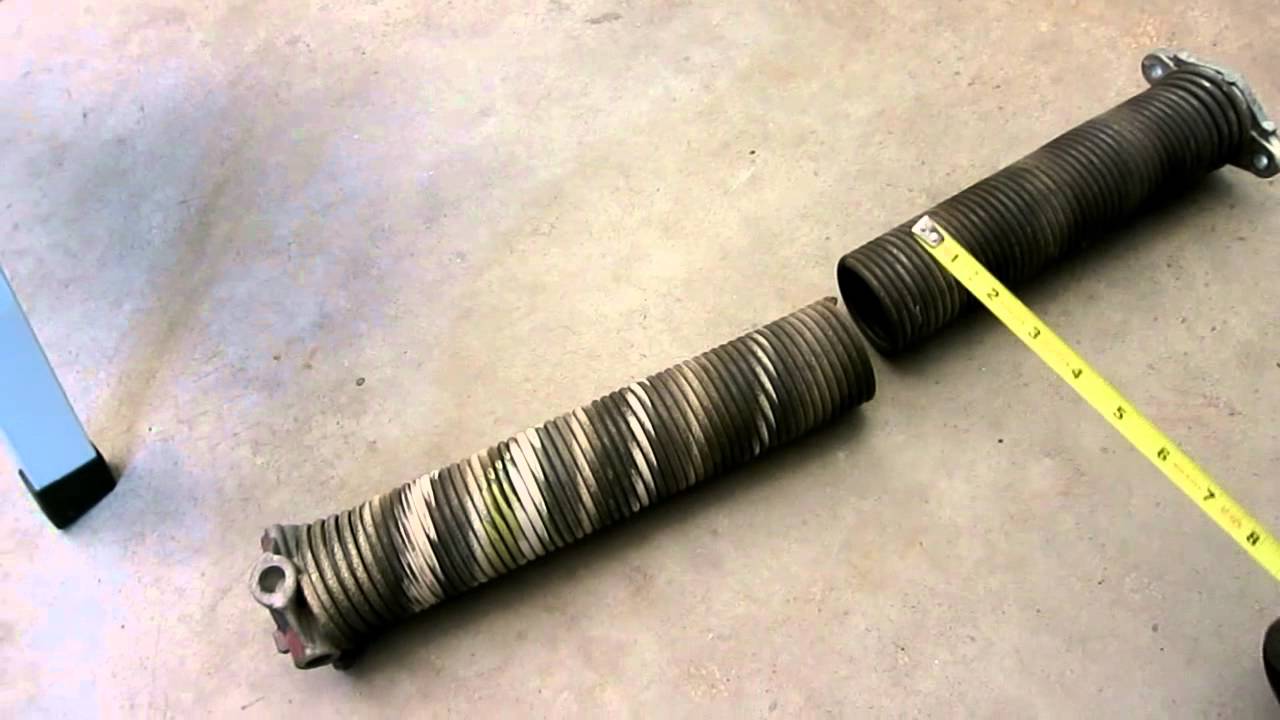
“Read about: Precision and Accuracy: How a Tape Measure Helps in Garage Door Installation”
Repairing torsion springs requires the right tools. Use two winding bars made of solid steel. Avoid using screwdrivers or makeshift tools. You’ll also need locking pliers and a socket wrench set. A sturdy ladder is essential for reaching overhead parts. Ensure the garage door is fully closed before beginning. Disconnect the garage door opener to prevent unexpected movement. Tape the door to the track as an extra safety measure. Safety glasses and gloves must be worn during all steps.
Loosen the set screws on the winding cone. Insert the winding bars into the cone holes securely. Carefully unwind the remaining tension. Turn each bar slowly to reduce the risk of snapping. Once the tension is gone, remove the spring from the torsion bar. Unscrew the cable drum and slide it aside. Slide off the old spring completely from the shaft. Set it aside in a safe area away from children. Check the shaft and bearings for wear or rust.
Slide the new torsion spring onto the bar. Make sure it is facing the correct direction. Attach the spring to the center bracket firmly. Slide the cable drum back into its original place. Re-tighten the set screws on the drum. Thread the cable into the drum groove precisely. Pull the cable tight before locking it in place. Repeat these steps for the other side if needed. Position the winding cone near the winding bracket. Insert the winding bars to begin tightening.
“Read more: A Glimpse into Luxury: A Review of Cipriani Restaurant in Venice”
Use both winding bars to apply tension. Turn the bars in quarter turns as recommended. Count each turn to ensure proper balance. Most doors require about 30 to 36 quarter turns. Once the correct tension is reached, tighten the set screws. Remove the winding bars with caution. Secure the torsion bar in place with locking pliers. Check the cable alignment one final time. Remove all tools and clean the work area. Reconnect the garage door opener only after testing manually.
Lift the garage door manually halfway. It should stay in place if springs are balanced. If the door rises or falls, adjust the spring. Make small changes by adding or removing turns. Always test again after each adjustment. Re-engage the opener and test with the remote. Watch the door’s motion for any jerking or lag. Listen for unusual sounds from the spring system. Smooth movement confirms the repair was successful. Inspect the cables again for proper tension. Open and close the door several times.
This website uses cookies.